

Campervan Guides
Campervan Kitchen Gas Safety Basics: Cylinders, Vents and Clearances

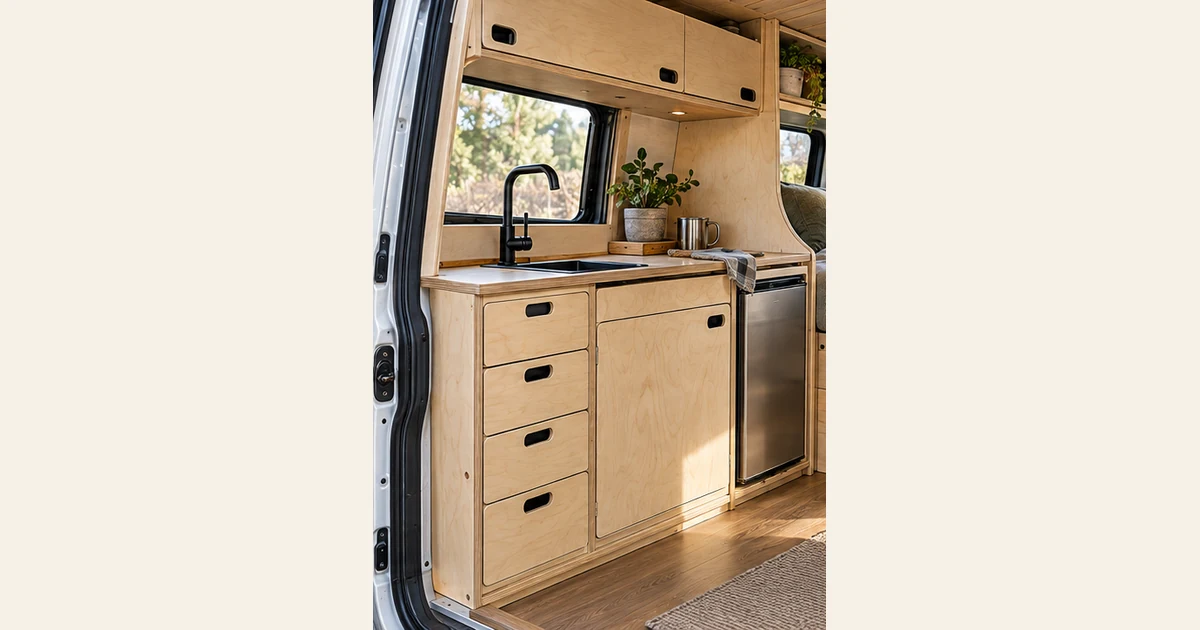
Gas makes a campervan kitchen practical and also the part of the build that needs the most care. This guide covers what to plan. It does not replace an installer.
Keep the cylinder in a sealed cabinet
The standard approach for LPG cylinders in a van is a cabinet that is sealed from the living space and vented to the outside through the floor. The cabinet door needs a seal. Your national rules and the European vehicle standard for LPG systems describe this in detail, so read the one that applies to you.
Vents are not optional
Gas is heavier than air. If it leaks, it pools low. A vent at the lowest point of the cylinder cabinet lets it fall out of the vehicle. The same applies to the exhaust opening some built-in cookers need. Never cover or block these openings.
Use the manufacturer's clearances
Every appliance maker publishes clearances for the sides and above the burners. Keep furniture, curtains and shelves outside them. The plans for our kitchen follow the data of the appliance they are drawn for, but you must check the current manual of your own appliance.
Use a shut-off valve and the right pipe
Fit a shut-off valve that is easy to reach, and use rigid pipe from the valve to the appliance. Flexible hose is only for the short regulator section inside the cylinder cabinet, and it needs to be rated for gas and replaced on schedule.
Leak test and certification
A qualified installer tests the system and signs it off. Many countries also require periodic inspection. Never rely on smell alone.
Add a carbon monoxide alarm
Place a carbon monoxide detector and a gas detector in the living area. Both cost little and give you an early warning.
Ready to build? See the DoIt Camper Kitchen plan. Next guide: How Much Does CNC-Cut Campervan Furniture Cost? What Drives the Price.


